Moving from Figma to Claude Code and back again is now possible. This could be a game changer for less technical, more visual Product Designers.
What is this post about?:
In June 2025, Figma announced the beta release of their MCP server, a connection that lets AI coding tools read your Figma files directly. Claude Code, Anthropic’s agentic coding tool, was one of the first supported clients. Instead of describing a design to an AI in words, you give it a link to a Figma frame. It reads the components, the spacing, the design tokens, the structure, and builds the HTML and CSS from that.
That was interesting. But having tried it out previously, I found I’d often want to jump back into Figma to make changes to the Claude Code output. While it was possible to do this directly in the code, it wasn’t my strong suit and I found designing in Figma to be a lot faster.
Now Figma have gone one step further. You can now take a live, running interface built in Claude Code and send it back to Figma as editable layers. The workflow is no longer one-way. Design becomes code which becomes design again.
Who this workflow might suit:
Designers in thoughtbot are pretty unique in that for years, they have been writing and building prototypes in code. But for many designers who do not have a technical background, perfecting CSS, running commands in the terminal, opening PRs; these might all have seemed daunting.
If you’re an experienced technical designer, you probably won’t need this workflow. If you’re a designer who likes to design by prompt, directly in Claude Code, you also probably won’t need this workflow.
But if, like me, you are quite a visual designer who is not especially technical, these new advancements open up some exciting possibilities for shifting your designs to code and back, allowing you to make precise changes in a medium that you’re more comfortable with (Figma) and still ship some usable code.
Why I like it:
I like this workflow because I am not especially technical as a designer. I always found the terminal quite intimidating. This allows me to create prototypes in code.
However, I also like starting out in Figma because I don’t want Claude to do my thinking for me.
For example, let’s say I prompt Claude to create a website where users can search for properties in their area. Claude might create features that come as standard on many property sites, like searching for properties in a map view. Each pan/drag that changes the viewport means a new API call to fetch properties in that bounding box. But in my specific case, I may not want the expense of that API, especially at MVP stage. But if I prompt on autopilot, there is a risk that kind of feature would sneak in there without me actually spending the time considering it in detail.
So personally, I find that prompting from the get-go can introduce scope creep and lead to bloated projects.
I like to do the thinking behind the product myself (the really hard part of Product Design). This involves prioritisation, cutting scope, assessing technical feasibility and asking “should we build this?”. After this, I can use Figma and Claude Code as tools to help me with the execution (which is now a less hard part than previously).
What you need:
- A paid Figma account
- A paid Claude Code / Anthropic account.
- Node.js
How to set it up:
Step 1 - Install Claude Code
I promise this is not as scary as it sounds.
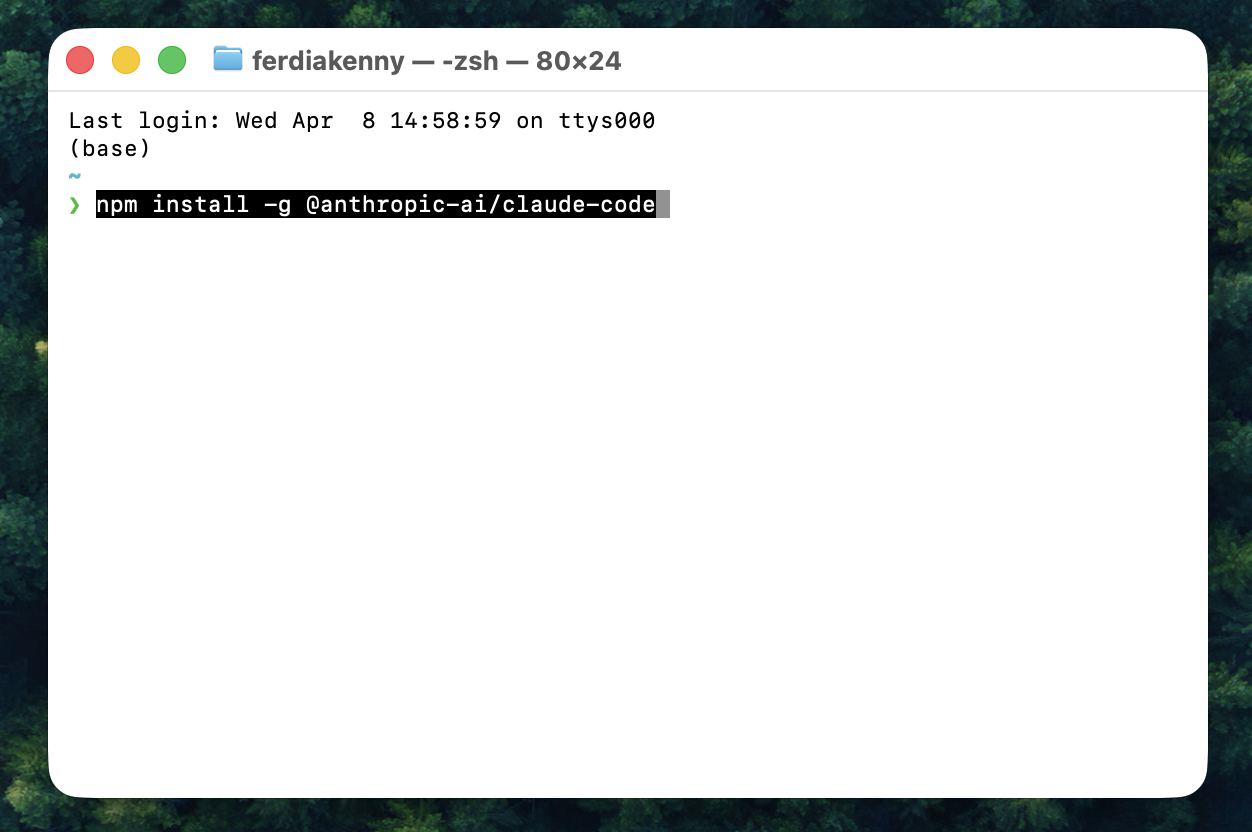
You open the Terminal on your Mac (Applications > Utilities > Terminal). Paste in the following command and hit enter:
npm install -g @anthropic-ai/claude-code
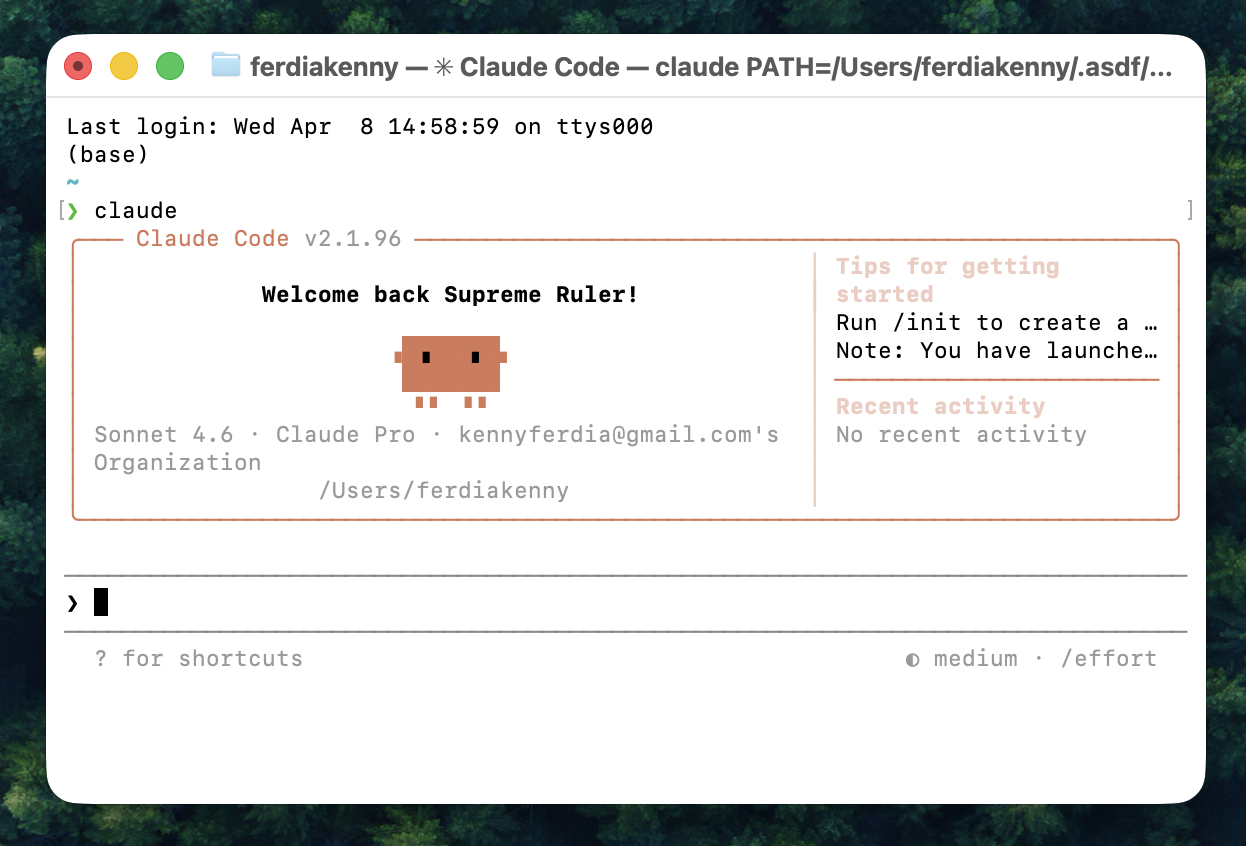
You’ll see some text scrolling; that’s normal. When it finishes and gives you a $ prompt back, try typing:
claude
Hit enter and you should be in.
Step 2 - Project Storage
Next, you need to create a folder for your project and then open Claude Code inside it.
Submit this into your terminal and hit enter:
mkdir ~/Desktop/my-projectcd ~/Desktop/my-projectclaude
Follow the first-time setup to log in. When you see a > prompt, you’re in!
Step 3 - Connect Figma
At the > prompt, paste in and hit enter on:
claude mcp add --transport http figma https://mcp.figma.com/mcp
Type claude to reopen, then /mcp, select Figma, and press Enter. It will open your browser to authorise the connection.
Set your standards
Before converting anything, create a CLAUDE.md file in your project folder. This is a plain text brief that Claude Code reads at the start of every session. It should contain what kind of code you want, naming conventions, how hover states should work, what a developer will need to wire up later and so on. If your company has specific development standards, this is the place to add them.
Getting this right once means every screen you build will follow the same rules.
Start building
Once you have designed a frame in Figma you can hit “Command + L” on Mac to copy a link to the frame.
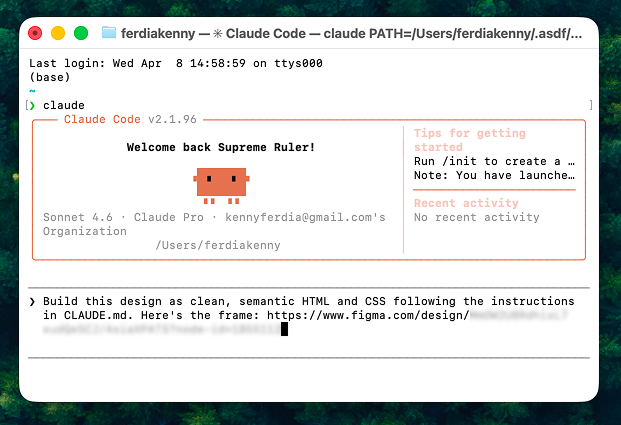
Then you simply paste it directly into the next line of the terminal that is running Claude Code. You can add some additional instructions here too such as:
Build this design as clean, semantic HTML and CSS following the instructions in CLAUDE.md. Here's the frame: [your link]
It’s also a good idea to ask for a preview with a command like:
Start a local server so I can preview this in my browser
You can then see what Claude cooks up in your browser. And when you are ready to send it back to Figma, keep the browser preview open and go back to Terminal. At the Claude Code > prompt, type:
Send this to Figma
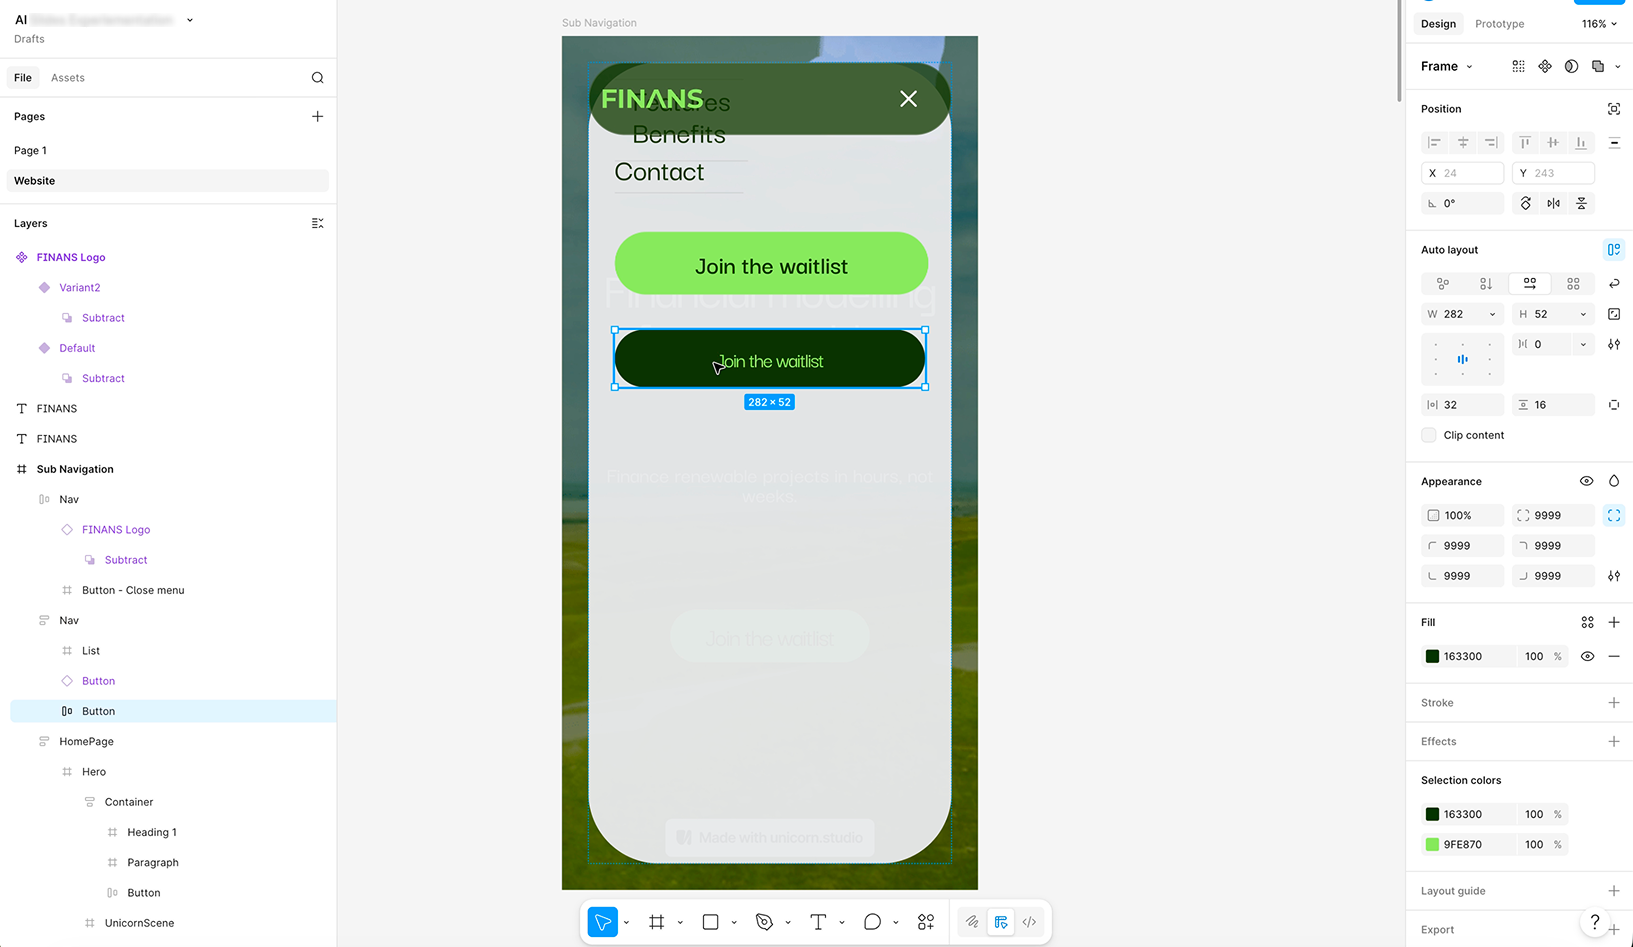
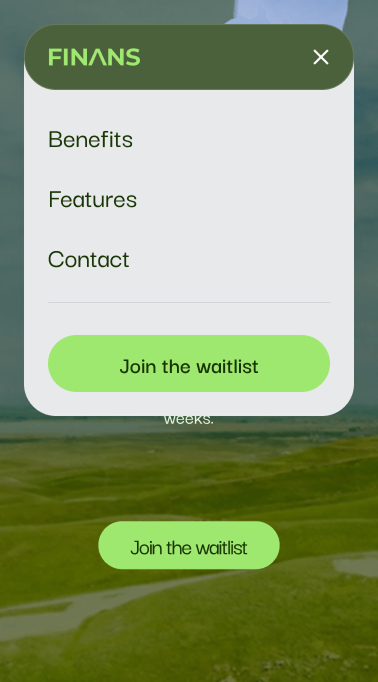
Claude Code is watching the browser preview it started, so you can tell it there what you want to capture. It will create a new frame in your Figma file with editable layers. From there, you can correct the issues you see, and then start the process again by sending your redesign back to Claude Code.
The GIF below shows a wonky mobile navigation Claude created being sent to Figma, and then the adjustments made to this directly in Figma iteself.
Conclusion:
And that’s it, that is the loop. It takes a session or two to feel natural. But after that, it becomes a fun new way of working.
In the next blog we will share how to correctly map your design tokens and components so that Claude uses them correctly when sending files over and back to take this workflow to the next level.