Have you ever wanted your changes from Chrome’s DevTools to stick – or wanted to edit Sass files directly in the inspector? If your typical workflow involves making design changes within DevTools only to return to your text editor for application, you know the pitfalls. It’s hard to remember what changes you actually made and if you’re not using LiveReload you’ll need to refresh the browser to see them in action. The whole thing is exhausting.
Thankfully, there’s a better way. By using workspaces and Sass source maps with DevTools you’ll be able to edit your Sass directly within the inspector. On top of that, your changes will persist to your source files! No longer will you have to hop between the browser and your text editor. By setting up a workspace, Chrome acts as your editor.
Sass source maps
Sass is a preprocessor. That means it’s a language that compiles down to another, in this case our old friend CSS. That’s where Sass source maps come in. They provide a way of bridging the divide between CSS and Sass. When DevTools spots a Sass source map it can point directly to the Sass source files rather than the generated CSS. This is incredibly helpful when it comes time to debug or tweak design.
Workspaces
A workspace in Devtools is really just a way for Chrome to understand where the source files for the current page live. This gives DevTools the power to act as your editor. In this post we’re modifying Sass files, but the amazing thing about a workspace in DevTools is that you can edit any type of file and have your changes persist to disk. For further reading, I recommend the Chrome docs on the matter.
Let’s get busy
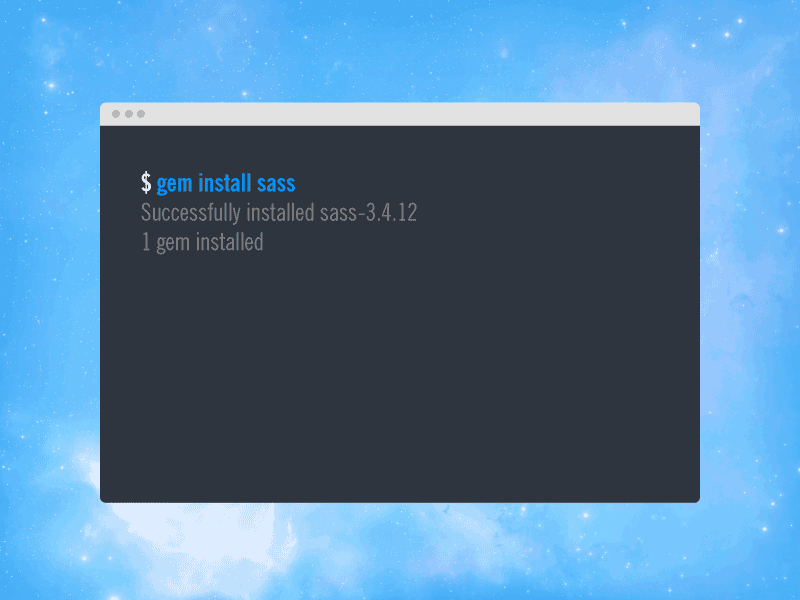
If you don’t have Sass installed already, you’ll need to do that. Let’s venture
out to the Terminal and run a simple command. Open that bad boy up and type:
gem install sass. It will look something like this.
Make sure DevTools is ready to go
The second thing you’ll need to do is make sure Chrome knows you’re going to use
source maps. To do this pop open the inspector with command + option + i
(⌘ + ⌥ + i) or right click anywhere on the page and select inspect
element. Now Hit the little gear in the top right hand corner to access your
settings. Find “Sources” under the “General” column and then make sure both
“Enable CSS source maps” and “Auto-reload generated CSS” are checked.

Run a sass watch
Now head back to your terminal and get Sass cranked up. You’ll want to tell Sass
the file to compile and output on this step. The syntax for this is as such. Run
a sass --watch input.scss:output.css. (Starting with Sass version 3.4 source
maps are output by default. If you’re using any version between 3.3–3.3.14
you’ll have to add an extra flag like so sass --watch --sourcemap
input.scss:output.css, maps aren’t available prior to version 3.3.) The watch
flag we’re using tells Sass to keep its eye on your Sass files for changes. Now
every time you make a change and save, things will recompile automatically.

Create a workspace
Marvelous, now let’s create a workspace in Chrome. Reopen the inspector using:
command + option + i (⌘ + ⌥ + i) and click your old friend the
gear. After that, click on “Workspace” from the left menu. Lastly, click “Add
folder” and then select your project folder. Chrome is going to ask you for full
access to that directory – go ahead and allow it.

Map to network resource
Okay, just one more step for all our work to come together. We need to tell
DevTools where the source files exist locally. To do this, find your input.scss
file within the folder we just added to the workspace. Once you find it, give it
a right click and finally “Map to network resource.” That’s it! Chrome
will refresh and you’re ready to go.

Edit directly in DevTools
Now go ahead and inspect an element. You’ll see that Chrome knows exactly where
in your Sass file the styles reside thanks to the source map. When I command +
click on a declaration it takes me directly to the proper spot in the source
Sass file – amazing.
From here, we can edit away. For instance, I’m not really feeling the background color on this page. I think I’ll change it. You can see in the .gif that when I change the background color in Chrome and save it it’s reflected in my source file. What?! Awesome right?

Technical considerations
What about Rails?
Unfortunately, if you’re using the sass-rails gem there’s a bit of an issue at
the moment. Sass brought source maps into the fray with version 3.3. Sass-rails
uses an older version (3.2) of Sass that doesn’t output source maps. So, until
Sass-rails updates its Sass dependency to a newer version you’re out of luck.
There is a gem called Sass-rails-source-maps that offers an approach to try and get things working. Have at it, but I couldn’t get things going on my end.
Git
If you’re using Git and want to keep things tidy it’s probably a good idea to
add *.css.map to your global .gitignore. This is typically in your home
directory, i.e. ~/.gitconfig.
Go forth
Now you know how to use Sass source maps and create a workspace in DevTools to great effect. It’s a technique that helps you save time, work smarter, and frees you from the shackles of moving back and forth between your editor and browser. Have fun with it!