So, you’ve wrapped up a Product Design Sprint: a prototype has been made, user insights have been found, high-fives have been had. Congrats!
Now the hard part starts. Are you ready to start working? Where to start? Meep.
Product Design Sprints are a fantastic way to zero-in on a problem and gain feedback on a solution to that problem. In one week, a team explores a problem, exercises design thinking, creates a working prototype, and gets real feedback from users on that prototype. It’s a magical whirlwind that results in a ton of high-value, actionable findings.
Yet, post-Sprint, teams can be left with lots of features proven to be valuable, but that lack a relative priority to one another. Sometimes unneeded features coast their way into prototypes and resulting Minimum Viable Product (MVP) scopes. Diligent prioritization will help your team assume less risk as you invest your time to implement features.
Fear not, friends: you’ve armed your team with a problem statement, goals, a critical path, and user research data. With these in hand, you’re a short exercise away from a prioritized feature list. Enter: the Impact/Effort Matrix.
Get started
Invite 1-3 people from your product, design, and development teams into a room. It’s ideal to leverage folks who participated in your Product Design Sprint. If anyone is new to the project, walk them through your Sprint: offer an overview of the expert interviews, introduce them to the problem statement, goals, critical path, and user research findings.
Arm your team with easy access to these Sprint materials, black sharpies, and post-its. Have them capture features (one per post-it) that combine to create the experience your team is planning to build. When you’ve finished, review the post-its for duplicates (nix ‘em), features with other feature dependencies (flag 'em and make a note of the dependent feature), and features that can be broken down into smaller features that will independently deliver value (break 'em down). When you’ve finished, you’ll have something that looks like this:

Note: if you’re working with a remote team or prefer to do this digitally, make a copy of this Google Drawings template and capture your features on the digital 'post-its’ 👊
Draw your matrix
This is the easiest step: draw your matrix! On a large whiteboard, draw one vertical “Impact” axis bisected by one horizontal “Effort” axis. Just like this:
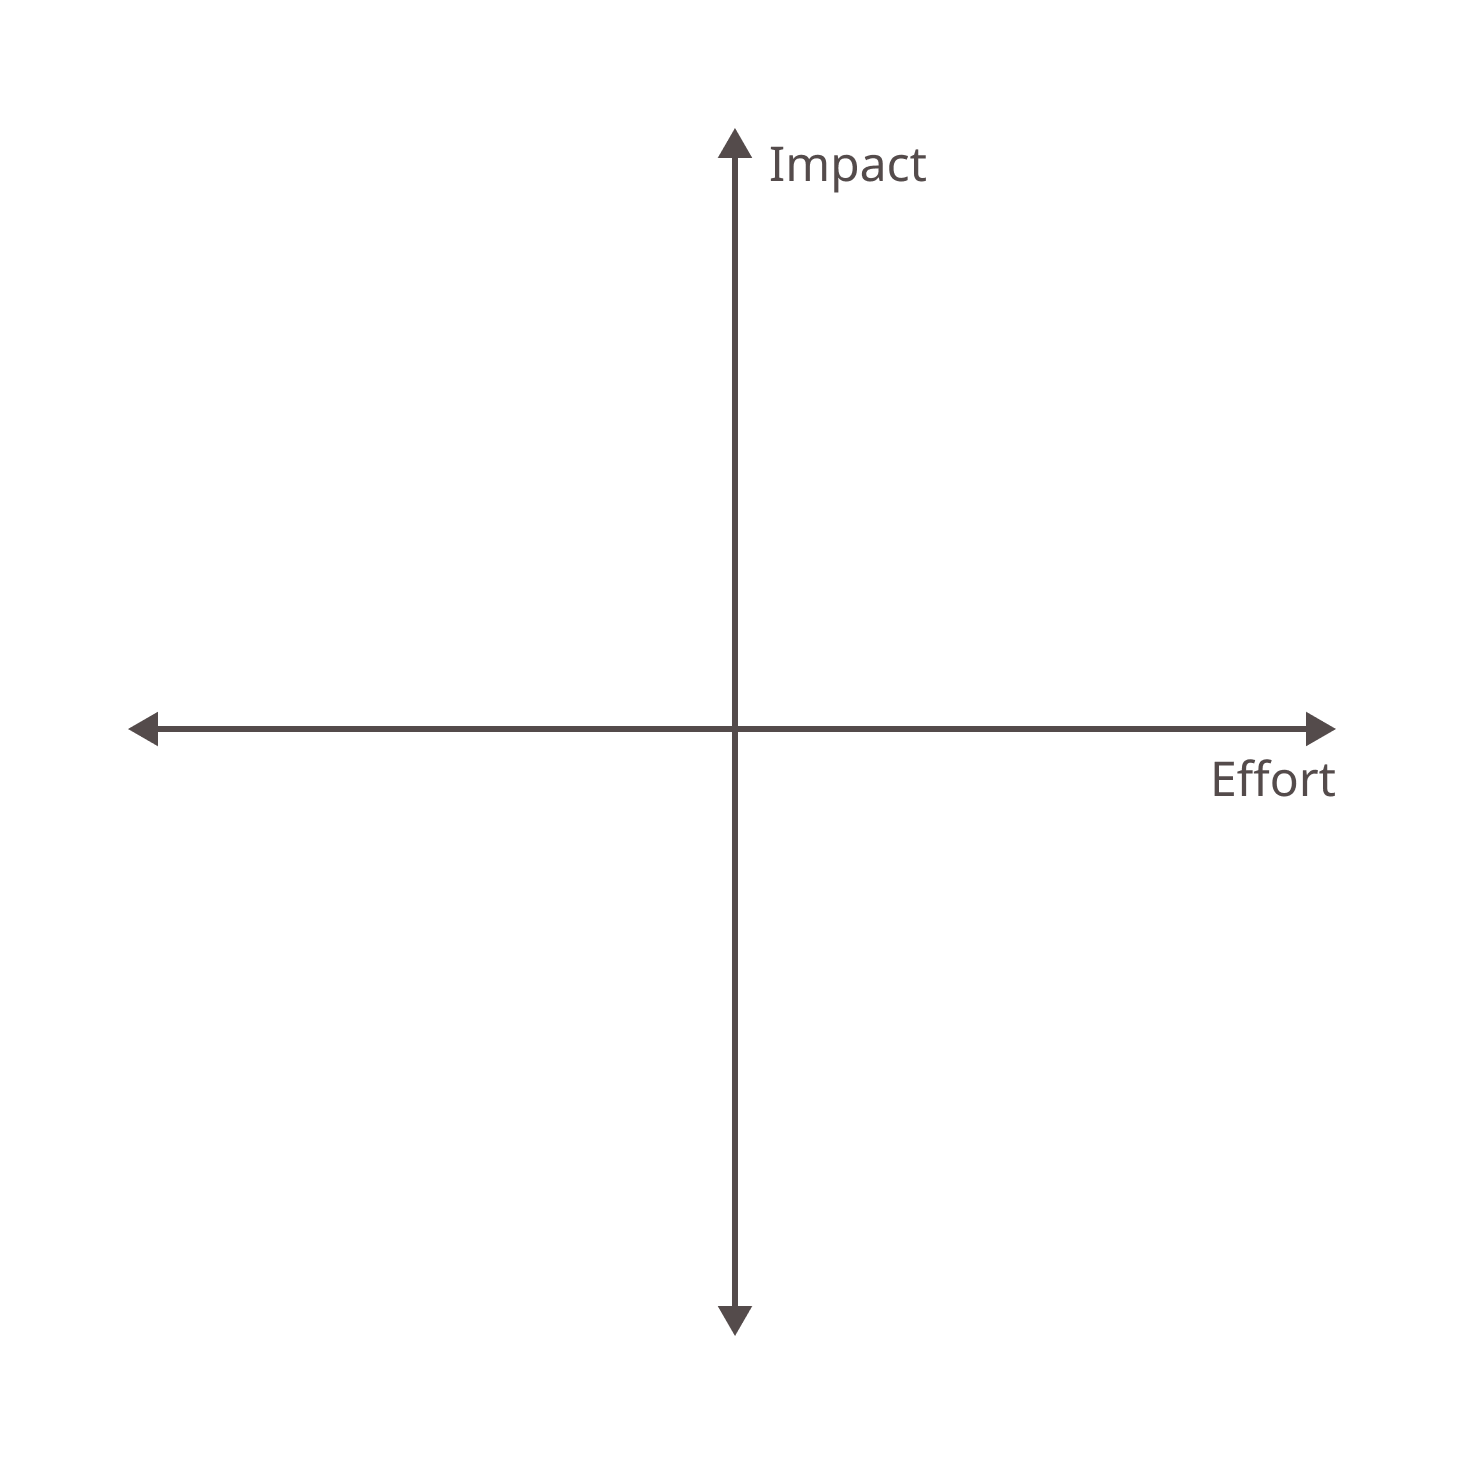
If you’re using the Google Drawings template you can skip this step 👊
Place your post-its
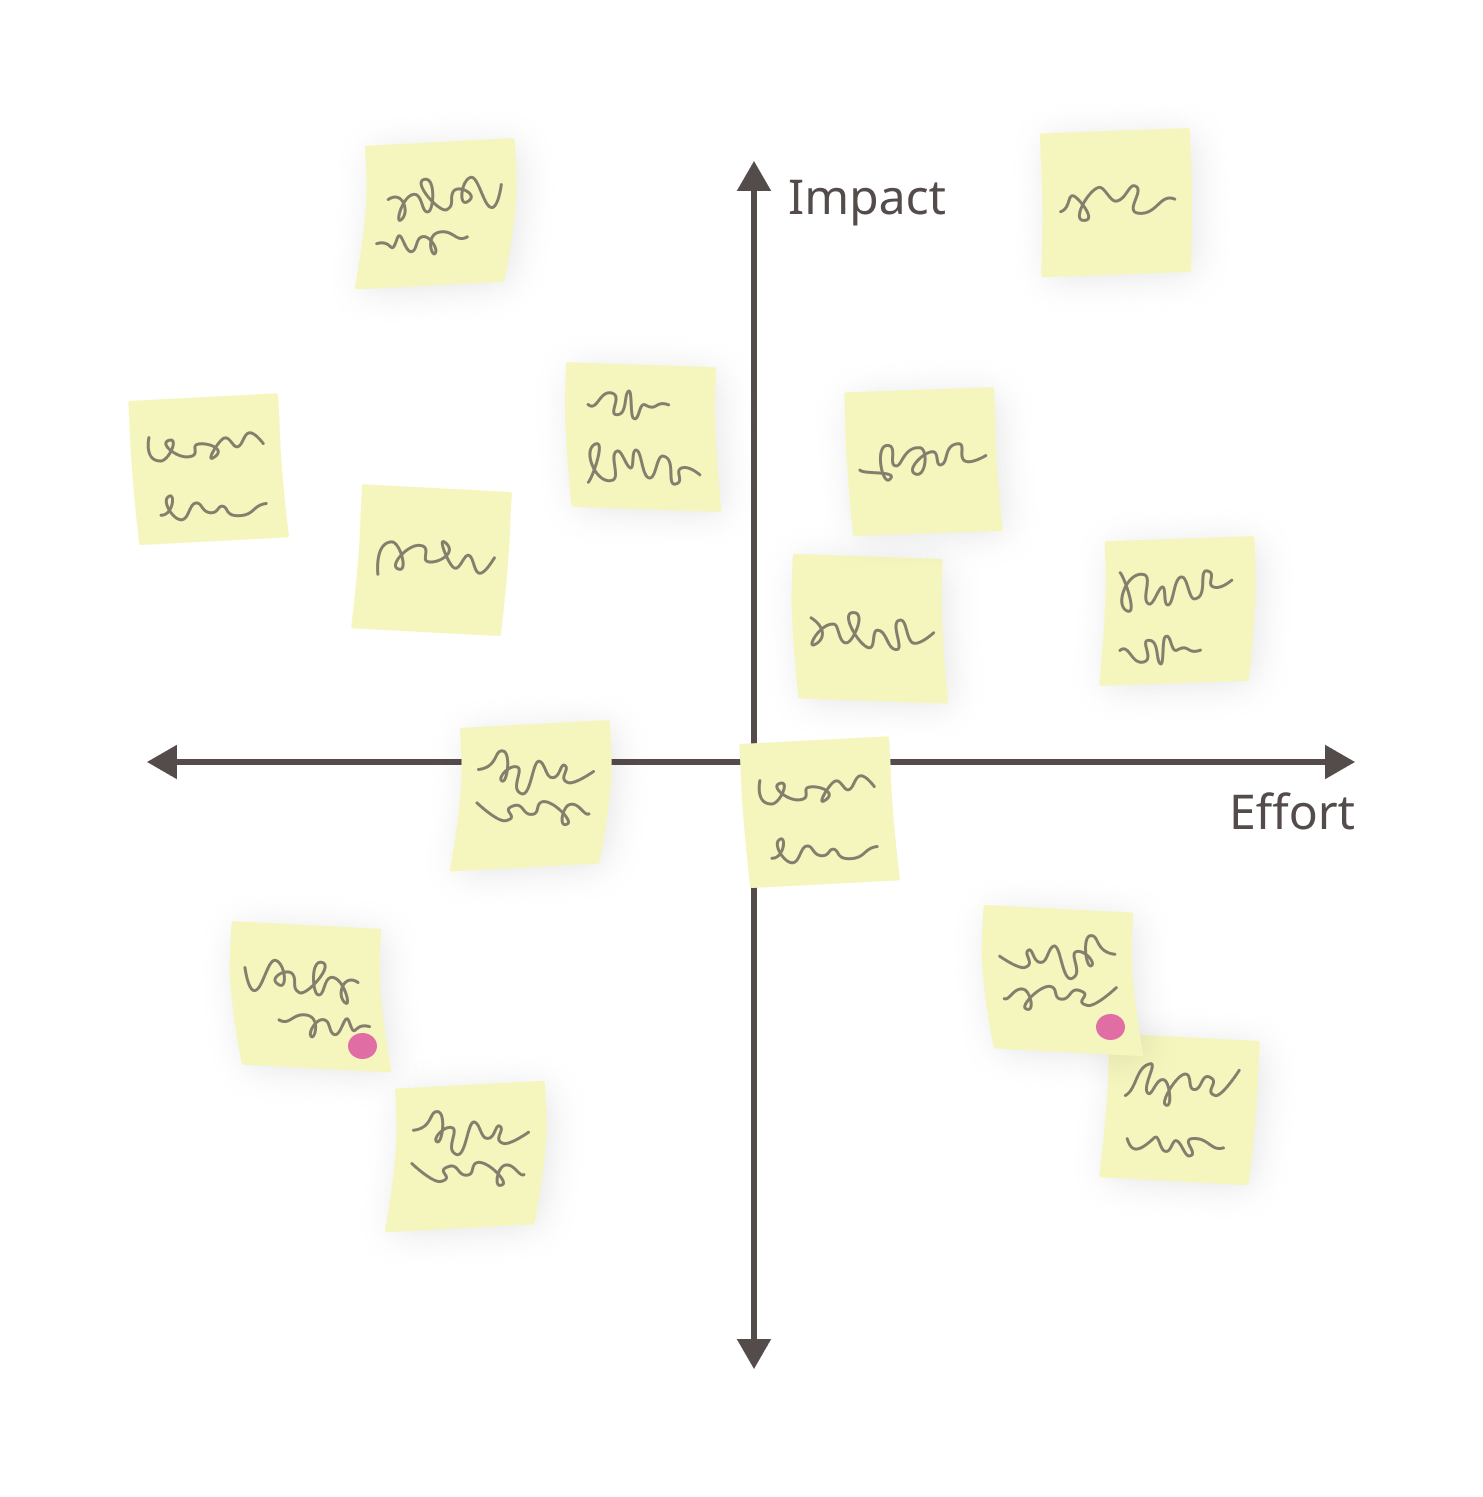
This is the moment you’ve been waiting for! Exciting stuff.
Kick-off this part with clear parameters in place to ensure this exercise is an efficient use of time: review your Product Design Sprint problem statement, goals, and critical path. Remind your team to reference these items when considering each feature. Then introduce the matrix to your team. Pretty simple: the higher up the post-it, the more the team believes in that feature’s positive impact on the user experience. The further to the right the post-it, the higher the effort required to complete the task.
Explain to your team that you’ll be positioning the post-its on the matrix with their guidance. Then, select a post-it, and challenge your team to decide where you should position it within 45 seconds. I like to start by holding the note at the center of the matrix, then have the team guide me “up,” “down,” “right,” or “left” until we’re in agreement.
Given that there are no units on the matrix, the placement of this initial post-it is arbitrary. Stress to your team the importance of speed over accuracy, and encourage best guesses. Once placed, you’ve got an anchor: every post-it placed after it will be mapped relative to your first feature’s estimated impact and effort.
Continue placing post-its with the team’s guidance, timeboxing each one to 45 seconds. In my experience, 45 seconds is more time than most features will require, but a few will inevitably spark discussion. Allow your team to deliberate; sometimes valuable considerations surface. As soon as the discussion becomes circular, set the timer and, when in doubt, urge your team to assume higher-effort and lower-value.
When you’ve finished, you should have something that looks a bit like this:
Scope your work
And there you have it: a visual toe-to-toe of your features’ impact and effort!
- Top Left contains Quick wins. These are your low-hanging fruit: highly impactful for little effort.
- Top Right contains Big Projects. These features are of high value but should be adopted mindfully since they’ll use up a lot of resources.
- Bottom Left contains Fill-ins. These items are not as impactful, but they’ll be pretty easy to bring into production. They’re great to draw from when your Quick Wins are implemented and your team has time between Big Projects.
- Bottom Right contains Not-Right-Nows (or maybe ever 😬). These are features that will take a lot of effort to implement without much promise of a pay-off. Record these items to be reconsidered for later, but hold off for now.
Dependencies: Be sure that you are scoping work so that the implementation of any features with dependencies is postponed until after their dependencies are met.

Happy prioritizing and scoping!