On a recent project we had to do a lot of work with WebGL. The most difficult and frustrating thing about the project was the lack of good resources on working with WebGL, especially for non-trivial projects. What I did find was usually focused on just having code that puts pixels on the screen, but not how it worked or why. If you’re interested in learning WebGL, these posts will take you from zero to a working 3D application, with an emphasis on how the various concepts work and why.
What is WebGL
WebGL is a thin wrapper around OpenGL ES 2.0 that is exposed through a JavaScript API. OpenGL is a low level library for drawing 2D graphics. This was a major misconception for me. I always thought that it was used to produce 3D. Instead, our job is to do the math to convert 3D coordinates into a 2D image. What OpenGL provides for us is the ability to push some data to the GPU, and execute specialized code that we write on the GPU rather than the CPU. This code is called a shader, and we write it in a language called GLSL.
To get started, we need to understand a few core concepts.
- Clip Space: This will be the coordinate system we use in our final output. It is represented as a number between -1 and 1, regardless of the size of the canvas. This is how the GPU sees things.
- Pixel Space: This is how we commonly think about graphics, where X is a number between 0 and the width of the canvas, and Y is a number between 0 and the height of the canvas.
- Vertex Shader: This is the function which is responsible for converting our inputs into coordinates in clip space to draw on the screen.
- Fragment Shader: This is the function which is responsible for determining the color of each pixel we told the GPU to draw in the vertex shader.
Boilerplate
We need to write a bit of boilerplate to get everything wired up to start drawing on the screen. The first thing we’ll need is a canvas tag.
<canvas width="600" height="600">
</canvas>
In our JavaScript code, we need to find the canvas, and use it to get an
instance of WebGLRenderingContext. This is the object that contains all of the
OpenGL methods we are going to use. The documentation for WebGL is
generally quite lacking, but every method and constant maps to an equivalent
method in the C API. The function glVertexAttrib1f in C would be
gl.vertexAttrib1f in WebGL, assuming the variable gl is your
WebGLRenderingContext. The constant GL_STATIC_DRAW in C would be
gl.STATIC_DRAW in WebGL.
main = ->
  canvas = document.getElementByTagName("canvas")
  gl = canvas.getContext("webgl") || canvas.getContext("experimental-webgl")
The next thing we’re going to need is an instance of WebGLProgram. This is an
object that will hold information about which shaders we’re using, and what data
we’ve passed into it. As we initialize the program, we are going to want to
compile and link our shaders. We’re going to need the source code of the shaders
as a string. I prefer to write them in separate files, in order to get syntax
highlighting and other file type specific helpers from my editor. In a Rails
app, we can just spit out the files into the page server side.
module ApplicationHelper
  def shaders
    shaders = {}
    Dir.chdir(Rails.root.join("app", "assets", "shaders")) do
      Dir["**"].each do |path|
        shaders[path] = open(path).read
      end
    end
    shaders
  end
end
<% # app/assets/layouts/application.html.erb %>
<script>
  window.shaders = #{shaders.to_json.html_safe}
</script>
Compiling the Shaders
Now in our JavaScript, we can create a few helper functions to create a program, compile our shaders, and link them together. To compile the shaders, we need to do three things:
- Get the source of the shader
- Determine if it’s a vertex or fragment shader
- Call the appropriate methods on our
WebGlRenderingContext
Once we’ve got both of our shaders, we can create the program, and link up the shaders. Let’s create an object that wraps up this process for us. You can find a gist here.
class WebGLCompiler
  constructor: (@gl, @shaders) ->

  createProgramWithShaders: (vertexShaderName, fragmentShaderName) ->
    vertexShader = @_createShader(vertexShaderName)
    fragmentShader = @_createShader(fragmentShaderName)
    @_createProgram(vertexShader, fragmentShader)

  _createShader: (shaderName) ->
    shaderSource = @shaders["#{shaderName}.glsl"]
    unless shaderSource
      throw "Unknown shader: #{shaderName}"

    @_compileShader(shaderSource, @_typeForShader(shaderName))

  _typeForShader: (name) ->
    if name.indexOf("vertex") != -1
      @gl.VERTEX_SHADER
    else if name.indexOf("fragment") != -1
      @gl.FRAGMENT_SHADER
    else
      throw "Unknown shader type for #{name}"

  _compileShader: (shaderSource, shaderType) ->
    shader = @gl.createShader(shaderType)
    @gl.shaderSource(shader, shaderSource)
    @gl.compileShader(shader)

    unless @gl.getShaderParameter(shader, @gl.COMPILE_STATUS)
      error = @gl.getShaderInfoLog(shader)
      console.error(error)
      throw "Could not compile shader. Error: #{error}"

    shader

  _createProgram: (vertexShader, fragmentShader) ->
    program = @gl.createProgram()
    @gl.attachShader(program, vertexShader)
    @gl.attachShader(program, fragmentShader)
    @gl.linkProgram(program)

    unless @gl.getProgramParameter(program, @gl.LINK_STATUS)
      error = @gl.getProgramInfoLog(program)
      console.error(error)
      throw "Program failed to link. Error: #{error}"

    program
We’re going to call createProgramWithShaders, giving it the name of the files
to use for the vertex and fragment shaders. We assume that all vertex shaders
are going to have the word “vertex” in the name, and that fragment shaders will
have the word “fragment”. After compiling each shader, we attempt to compile it
and check for errors. Finally, we attach the shaders to our program, and try to
link the shaders. If all of this succeeded, the result will be an instance of
WebGLProgram
main = ->
  canvas = document.getElementsByTagName("canvas")[0]
  gl = canvas.getContext("webgl") || canvas.getContext("experimental-webgl")
  compiler = new WebGLCompiler(gl, window.shaders)
  program = compiler.createProgramWithShaders("main_vertex", "main_fragment")
Now we can start writing actual code! We’ll start by writing the simplest possible vertex shader. It will do nothing but return the input unchanged.
attribute vec2 vertexCoord;

void main() {
  gl_Position = vec4(vertexCoord, 0.0, 1.0);
}
An attribute is the primary input to the vertex shader. We’re going to give it
an array of values. OpenGL will loop over them, and call this function once per
element. The function doesn’t actually return anything. Instead, we set a local
variable called gl_Position. That variable expects a vec4, which means it
has an x, y, z, and w, rather than a vec2, which just has x and y.
z works like the z-index property in CSS. w is a value that every other axis
will be divided by. We’ll set it to 1.0 for now, so nothing is affected.
Once the vertex shader has set enough points to draw a triangle, the fragment shader will be called once per pixel in that triangle. For now, we’ll just always return blue.
void main() {
  gl_FragColor = vec4(0.0, 0.0, 1.0, 1.0);
}
Sending Data to the GPU
The last step is to wire up our program to our rendering context, pass in the data, and draw a triangle. First we’ll make sure our screen is in a consistent state.
gl.clearColor(1.0, 1.0, 1.0, 1.0)
gl.clear(gl.COLOR_BUFFER_BIT)
clearColor tells the GPU what color to use for pixels where we don’t draw
anything. We’ve set it to white. Then, we tell it to reset the canvas so nothing
has been drawn. The next then we need to do is give our program some data. In
order to do this, we’ll need to create a buffer. A buffer is essentially an
address in memory where we can shove an arbitrary number of bits.
gl.useProgram(program)
buffer = gl.createBuffer()
gl.bindBuffer(gl.ARRAY_BUFFER, buffer)
gl.bufferData(
  gl.ARRAY_BUFFER
  new Float32Array([
    0.0, 0.8
    -0.8, -0.8
    0.8, -0.8
  ])
  gl.STATIC_DRAW
)
OpenGL is highly stateful. When we call bufferData, we never specify which
buffer is being used. Instead, it works with the last buffer we passed to
bindBuffer. gl.ARRAY_BUFFER tells OpenGL that the contents of this buffer
are going to be used for an attribute. gl.STATIC_DRAW is a performance hint
that says this data is going to be used often, but won’t change much.
Now that we’ve put the data in memory, we need to tell OpenGL which attribute to use it for, and how it should interpret that data. Right now it just sees it as a bunch of bits.
vertexCoord = gl.getAttribLocation(program, "vertexCoord")

gl.enableVertexAttribArray(vertexCoord)
gl.vertexAttribPointer(vertexCoord, 2, gl.FLOAT, false, 0, 0)
The first thing we need to do is get the location of the attribute in our
program. This is going to be a numeric index, based on the order that we use it
in our program. In this case, it’ll be 0. Next we call
enableVertexAttribArray, which takes the location of an attribute, and tells
us that we want to use the data that we’re going to populate it with. I’ll
admit, I don’t know why you would have an attribute present in your application,
but not enable it. Finally, vertexAttribPointer will populate the attribute
with the currently bound buffer, and tell it how to interpret the data. This is
what each of the arguments mean:
gl.vertexAttribPointer(
  # Which attribute to use
  vertexCoord

  # The number of floats to use for each element. Since it's a vec2, every
  # 2 floats is a single vector.
  2

  # The type to read the data as
  gl.FLOAT

  # Whether the data should be normalized, or used as is
  false

  # The number of floats to skip in between loops
  0

  # The index to start from
  0
)
Finally, we need to tell it that we’ve finished giving it all of the data it needs, and we’re ready to draw something to the screen.
gl.drawArrays(gl.TRIANGLES, 0, 3)
drawArrays means that we want to loop through the attribute data, in the order
that it was given. The first argument is the method we should use for drawing.
TRIANGLES means that it should use every three points as a surface. It would
take 6 points to draw two triangles. There are other options, such as
TRIANGLE_STRIP, which would only take 4 points to draw 2 triangles. There’s
also POINTS or LINES, which completely change how a single triangle is
drawn. The second argument is which element in the array we should start from.
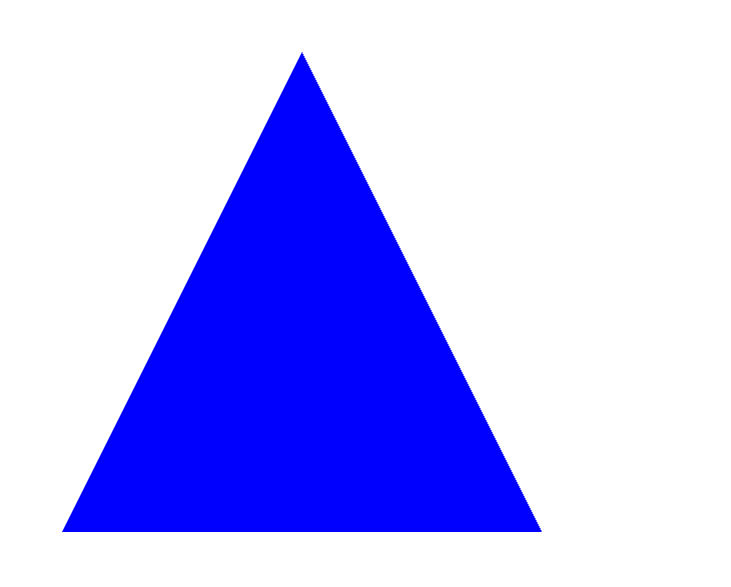
The final argument is the number of points we’re going to draw. The end result,
is a simple triangle. All of the code used for this sample is available
here.