---
title: Android Developer Perf Matters
teaser: Increase your efficiency in day-to-day Android development.
tags: android,devtools
author: Kelly Shuster
published_on: 2016-01-14
---
From the [Android Performance Udacity
course](https://www.udacity.com/course/android-performance--ud825), to the [100
Days of Google
Dev](https://www.youtube.com/playlist?list=PLOU2XLYxmsIJDPXCTt5TLDu67271PruEk)
videos, Google put out an extraordinary amount of resources to help developers
create faster, leaner, and smarter Android applications last year. There was no
doubt about it, 2015 was the year of
[#perfmatters](https://twitter.com/duhroach/status/682744600285429760).
The performance of your software is hugely important. But also important is
developer performance. How fast, lean and smart is your Android development
setup? Here are some tips to create an efficient Android development setup.
## Auto organize imports
Back in the days of Eclipse, Cmd+Shift+O (Ctrl+Shift+O on
Windows) was second nature to me. I hit these keys so frequently, I even would
accidentally type them at the end of every sentence when writing an email. One
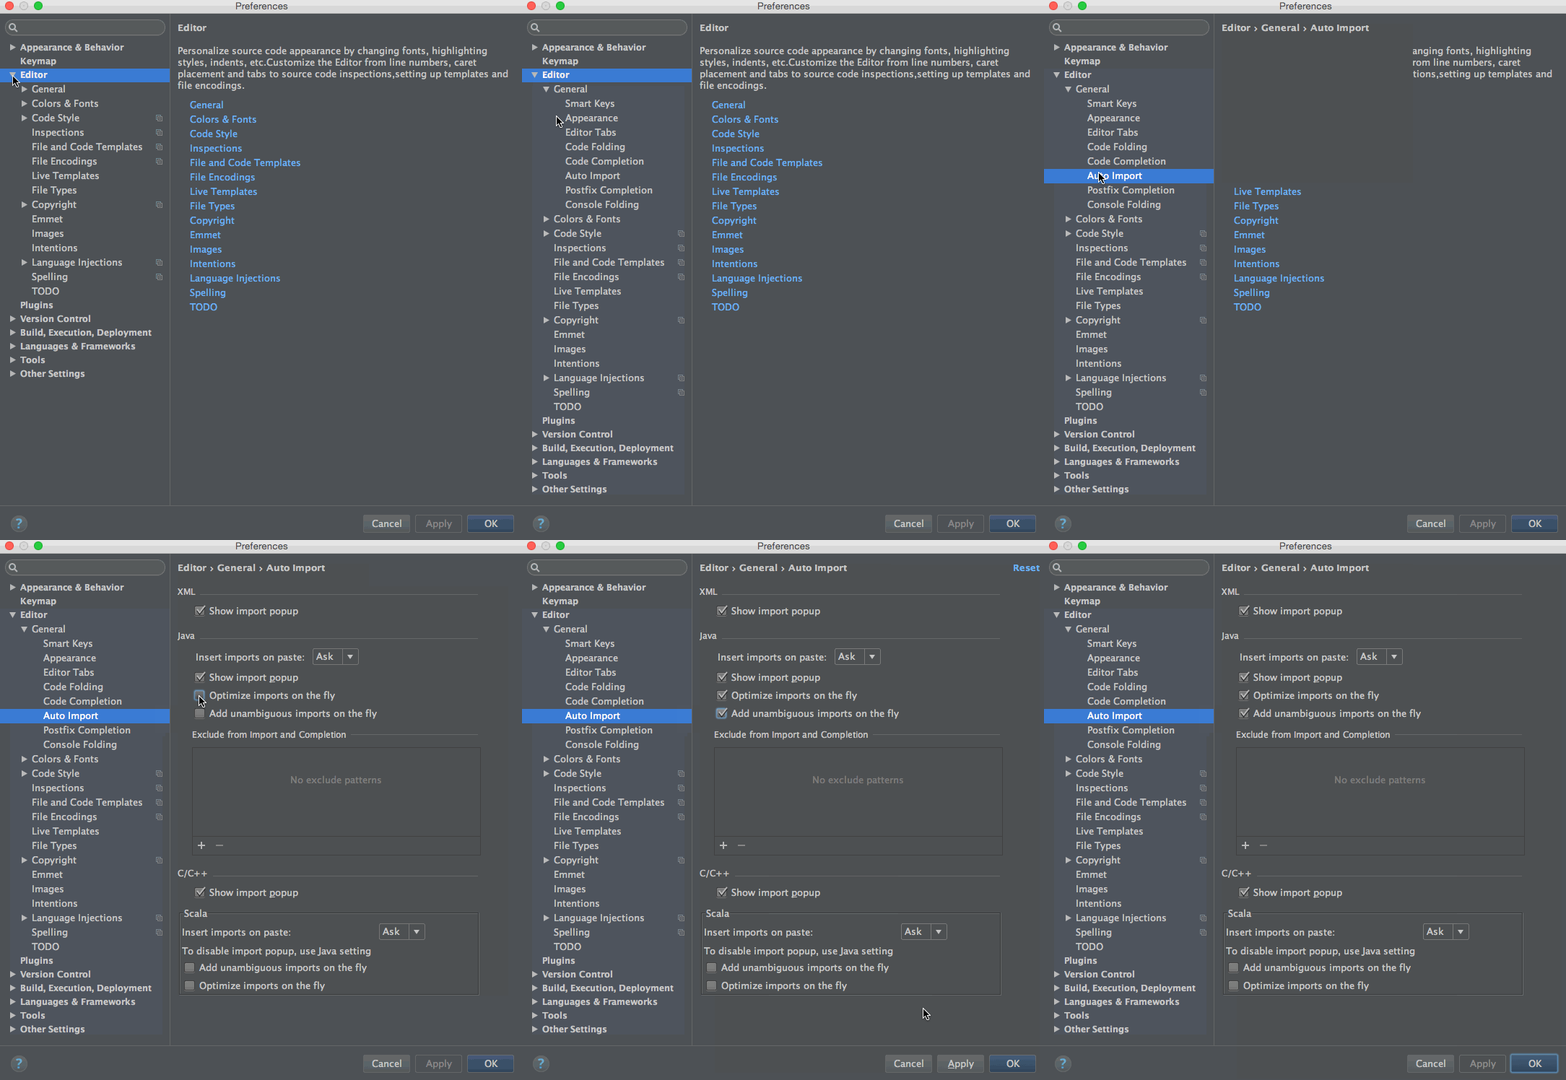
great time saver in Android Studio is to let the IDE import for you on the fly.
You can turn this on by going to Preferences → Editor → General → Auto Import,
and selecting both "Optimize imports on the fly" and "Add unambiguous imports on
the fly."
In the past 2 years that I have been using Android Studio, I've only had 1
instance where I had to turn this feature off temporarily, as the IDE was
automatically adding the wrong import. Overall this feature is really accurate
and will save you a lot of time.
## Don't build your project: TDD
We all know that the Gradle build time is less than ideal, and while the Gradle
and Android teams are releasing improvements, it's still not that fast. Because
of this, do whatever you possibly can to avoid rebuilding your entire project.
One great way to do this is to use Unit Testing and even Test Driven Development
to your advantage whenever you can.
With the combined forces of JUnit and Robolectric, you can always find part of
your app that can be tested. Running an individual test or test suite will
always be faster than re-building and running your project after every code
change to see your progress. Move even faster by using the hot keys
Ctrl+Shift+R (Ctrl+Shift+F10 on Android Studio 2.0 Preview
4, Shift+F10 on Windows) to run all tests in your current file, or
just the test immediately under your cursor. You've sped up your development
process and end up with a well tested feature; win-win!
## Don't build your project: Leverage layout preview
Another great way to avoid building your project is to leverage the Layout
Preview. When you open an XML text layout file in Android Studio, expand the
Preview tab located along the right border of the XML file. This gives you a
view of what your layout will look like once compiled.

Once you start working with layout preview, you might get frustrated that the
preview is not showing you exactly what you want to see. For example, it is
common for a screen's initial layout to be pretty empty if your app will be
dynamically populating view content. Some of your views' visibility may even be
set to "gone" initially. The layout you see in the preview will look a lot
emptier than the spec you are designing against.
Enter the powerful layout tools attributes. The XML tools attributes allow you
to see a more clear picture of your complete layout, without writing throwaway
code or using dummy values that a user might accidentally see. To use the tools
attributes in your XML file, you will first need to add the tools namespace.
You can do this by adding `xmlns:tools="http://schemas.android.com/tools"` to
your file's parent view element. Alternatively, you can start typing `tools` in
any view element, then Opt+Enter (Alt+Enter on Windows) to
automatically add the namespace. It's also a good idea to include `context` for
your tools, so any custom themes and styles are applied to the preview as well.
Do this by including `tools:context=".MainActivity"` in the parent element.

Here are the top XML tools attributes that I have found useful:
- `tools:text="title"` - Set text on your view only for the layout preview.
There is no lint warning for using a hardcoded string here, since it is just
for debugging.
- `tools:src="@drawable/my_img"` - Set the image on your view only for the
layout preview.
- `tools:visibility="visible"` - Set your view elements to visible, invisible,
or gone only for the layout preview.
- `tools:listitem="@layout/custom_layout"` - Show the actual list item layout
inside your ListView preview. Use `tools:text` and `tools:src` to fill out
your list item layout, and you will see the full picture of what your ListView
should look like.
- `tools:showIn="@layout/acitivity_main"` - Render your current layout inside
the layout which includes it. This allows you to get the big picture of what
your layout will look like, without building the entire project, or having a
single monolithic layout file. The wrapping layout is greyed a bit in the
preview, so it is clear which parts of the layout you are currently editing.
These are just a few small things you can start doing now to use your tools more
efficiently. Be a master of your tools, and speed up your development time this
year!